Everyone knows how to tune a radio. If you’re a car enthusiast you probably know how to tune an engine. If you’re a hit around campfires (or just think you are) you may even know how to tune a guitar.
But bandsaws?
Tuning a bandsaw may seem even more painstaking than having to sit through your mate strumming Hallelujah after a few beers, but it doesn’t have to be. In fact, it can even be a fun experience and if you’ve got the right advice, one that will save you time, money and prolong the lifespan of one of the most important items in your workshop.
Putting the band back in bandsaws
 There are certain types of bandsaws that are going to make the tuning process a lot easier (and more worthwhile) then others.
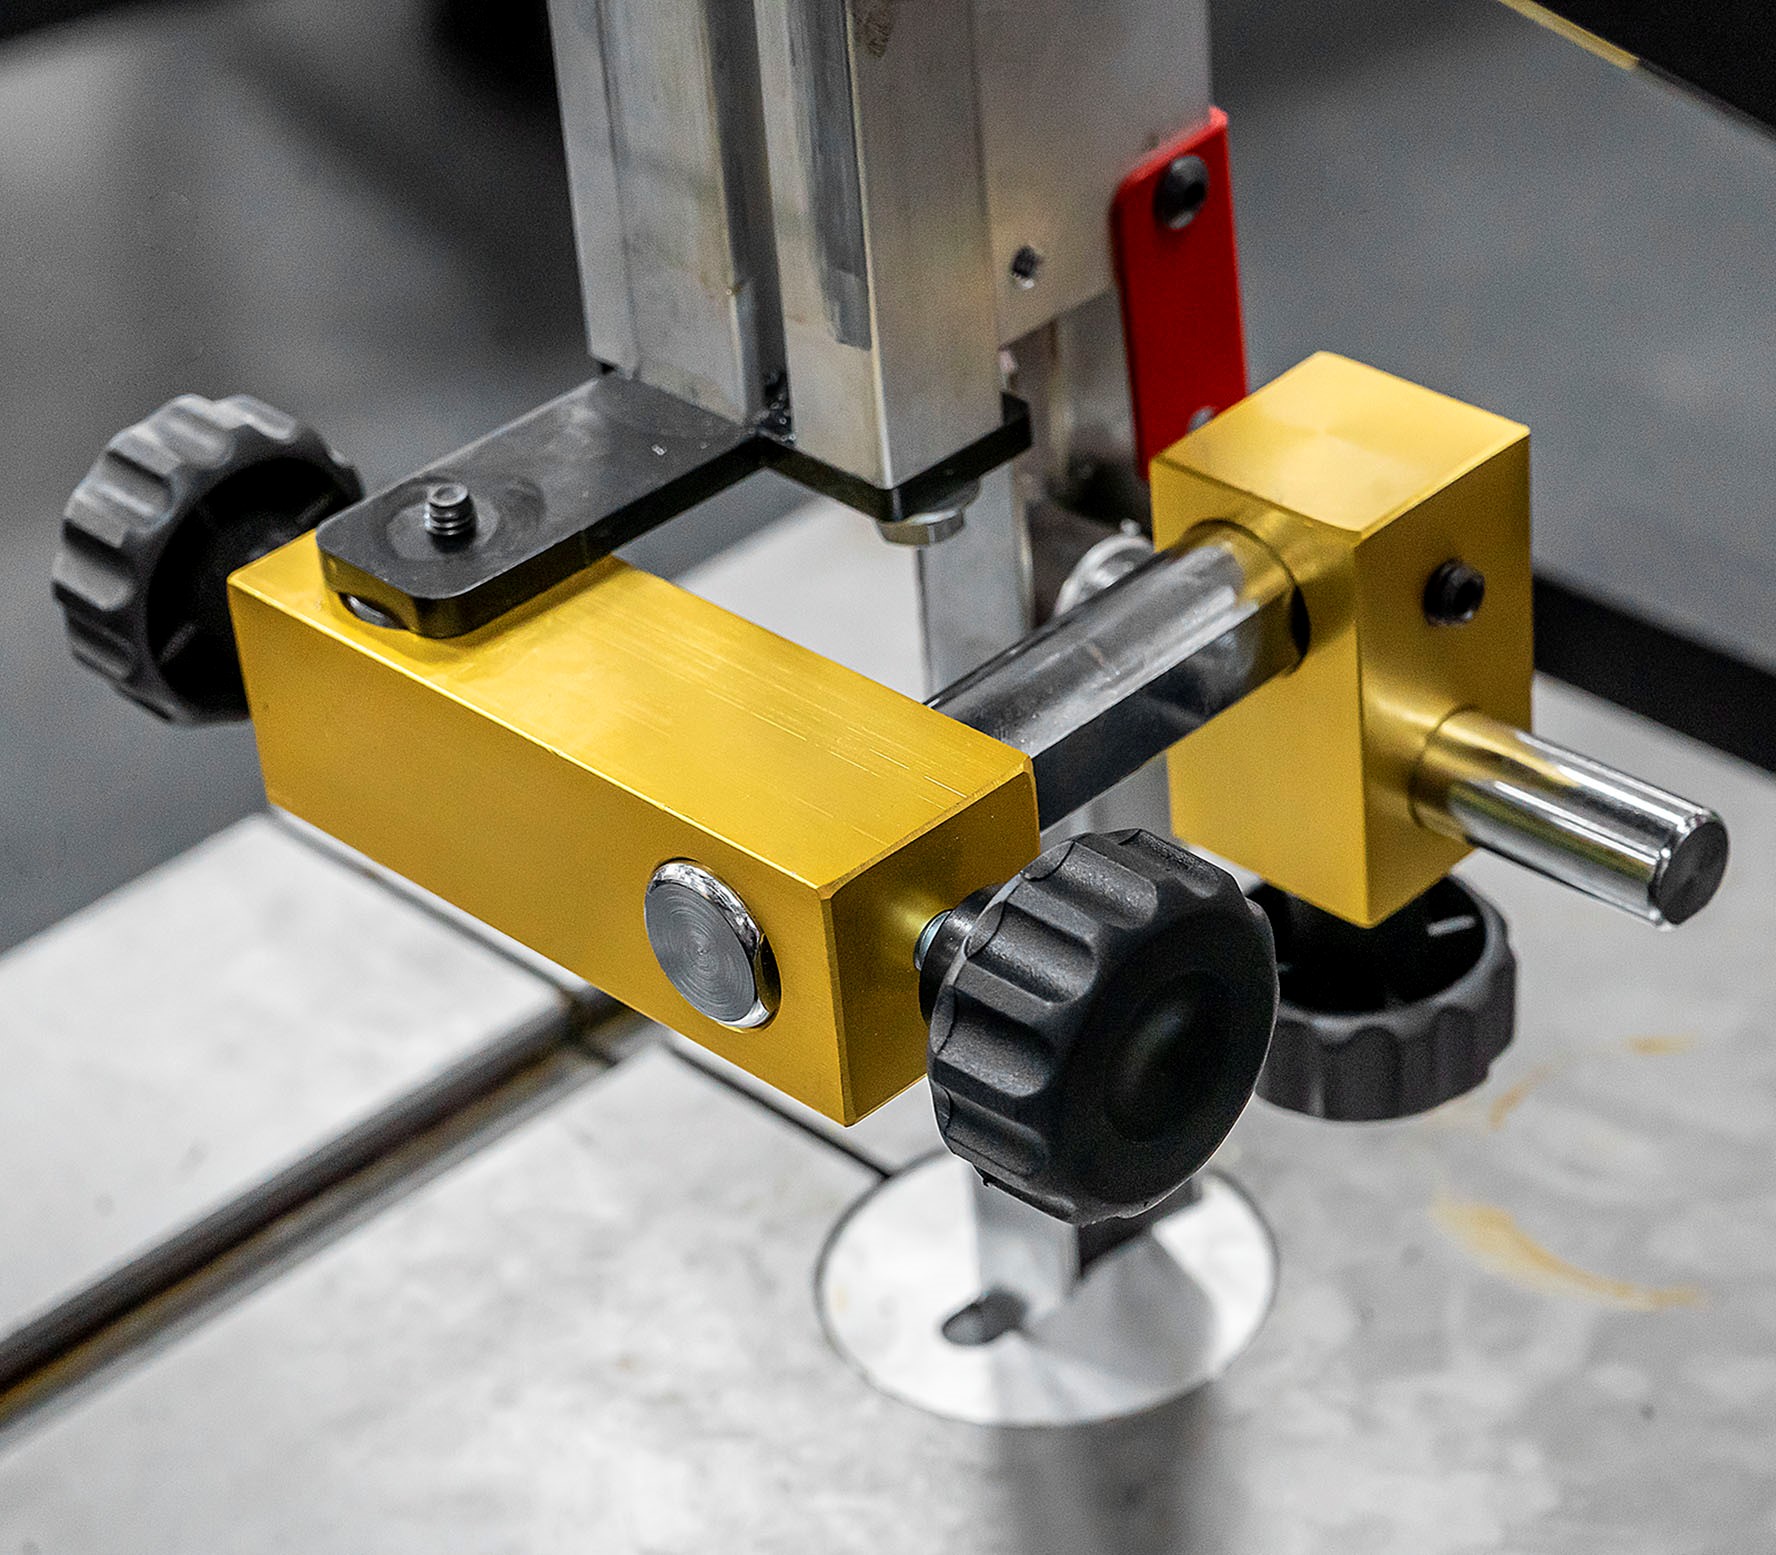
To begin, a bandsaw with quick-release tensioning knobs can save a lot of stress. You want to remove the blade tension whenever you’re not using a bandsaw because leaving a bandsaw blade in a tensioned position reduces longevity.
They call this work hardening because the tension will cause the rubber band around your bandsaw wheel to stress and bow, which ruins the indentation and subsequently messes up your blade’s alignment. By purchasing a bandsaw with the ability to quickly release this tension - without having to unwind your ideal tension setting - you save yourself the hassle of having to find the correct setting every time you want to use it.
If you’re in the market for a bandsaw you should also consider the importance that seemingly minor features, such as a smooth moving fence, can have on your ability to achieve accurately measured cuts. You want a sturdy, well-built fence that will remain true and square to the table (a feature that a lot of bandsaws fall disappointingly short on).
These sort of features tend to be more common in large-scale, high capacity bandsaws, which are both out of the price-range and necessity for hobbyists. But with growing demand for good quality from a low to mid range bandsaws, manufacturers that usually deal with factories are stepping down into this market, with convincing results.
Sherwood’s Deep Rip bandsaw is built by one of these manufacturers to match the growing demand for mid-capacity bandsaws that are both easy to maintain and operate. In this sense they’re a fantastic option for experienced woodworkers and beginners that want the option of taking on larger projects (they feature a cast-iron wheel and up to an 13 inch cutting height) while retaining a few creature comforts like hand-wheels for blade adjustment, viewing panels for easy tensioning, a massive worklamp and in-built measuring gear.
A Step by step guide to setting up your bandsaw
 When measuring out a new bandsaw, your first step is to square the cast-iron table to the blade by tensioning the blade and using a reliable square to ‘square off’ to the table by adjusting the hard stops underneath. Check this from both sides of the table and you’re set.
At this point it’s important to ensure your fence is exactly perpendicular to secure square cuts and, once again, a good fence will have the ability to adjust in small implements making this job a lot easier.
Changing the blades requires opening both wheel doors, removing the tension, the throat plate and the pin that holds the table in place. Slowly remove the blade starting from the far side of the wheel, then gently bring it through the slot in the table.
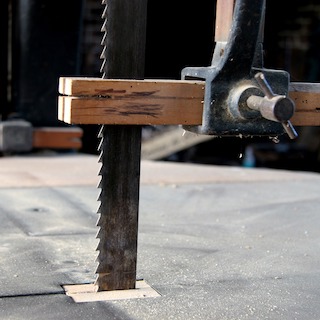
When replacing the blade, ensure the teeth are facing forward and pointing down into the table, then replace the throat plate and insert pin. When placing the blade on the bandsaw wheel, set the back of the teeth in the centre of the wheel, so they remain solid the entire way around.
Turn the wheel slowly and use the blade tensioning control to adjust the blade further, before locking the tension nut. At this stage you’ll want to check the bandsaw’s tensioning graph, which will correspond to the width of the blade. This will give you a rough outline, but remember there’s no perfect setting.
High-tension set ups achieve a smoother, more accurate cut but are highly stressed. This will wear your blade out quickly and affect your calibration, and if you overdo it, it could even snap. Tension it too loose and it will vibrate and affect your accuracy – this is why it’s so important to take your time and ensure you’re dealing with good quality equipment to begin with.
What to look for in a great, modern bandsaw
A great bandsaw will allow you to keep the tension relatively loose and still retain a great cut, saving you money on replacement blades. However, as the blade wears naturally over time, look to increase your tension. Similarly, if cutting hard timber or doing tall rip cuts, don’t rely on the strength of the machine to compensate for a harder job.
This is the advantage to buying a model specialised to performing deep rips. Any experienced woodworker will warn you off taking on these sort of cuts with a bandsaw that isn’t built for it, most saws will struggle and the results can be average at best.
A four-pole motor and cast-iron wheels are a necessity, but you should also look to the strength of the frame itself – how many brackets are supporting the wheel? Does it look solidly built or is the wheel sitting in an empty box? These sort of features will tell you a lot about the manufacturer.
To ensure you get an accurate sense of the tension required, remove the guide blocks and slowly loosen the blade to the point where the blade no longer runs straight (they call this flutter) to get a sense of your bandsaw’s tension range for yourself.
There are guide blocks above and below the table and when replacing them you want the two blocks to remain behind the deepest part of the gullet (this is also called the trough) of the blade teeth. About a millimetre is ideal. You don’t want them to touch the blade at all because friction is your number one enemy, but you the gap about as tight as you can manage. You adjust this by loosening the set screw.
 Under ceramic guide blocks, quad American-style bearings are the industry-standard for excellent quality bandsaws. Look for the solidity of the steel blocks when choosing a model – the bearing guides are one of the most important parts of the bandsaw and will affect practically every part of its operation.
About the thickness of a piece of paper between the guide and the blade is the recommended standard. When the blocks are set, adjust the guide wheel. This is the bearing behind the blade, which reduces friction by keeping the blade captive between the guide blocks. Again, leave the gap between it and the blade the width of a piece of paper.
You want the blade to be as close to the edge to the bearing as possible because this further reduces friction, but you have to ensure your guide mechanism is square to the blade.
We recommend you perform these operations with the blade height set at about 100mm, as that provides a nice mid-range for optimum accuracy, but if you’re regularly cutting at a different height, that’s the height to go with.
Ultimately, the effort you put into tuning a bandsaw will have almost as large an effect on your end result as the effort you put into choosing the right saw.
But what may seem like a long process now, could save you every day in the workshop.
Shop Bandsaws Now!