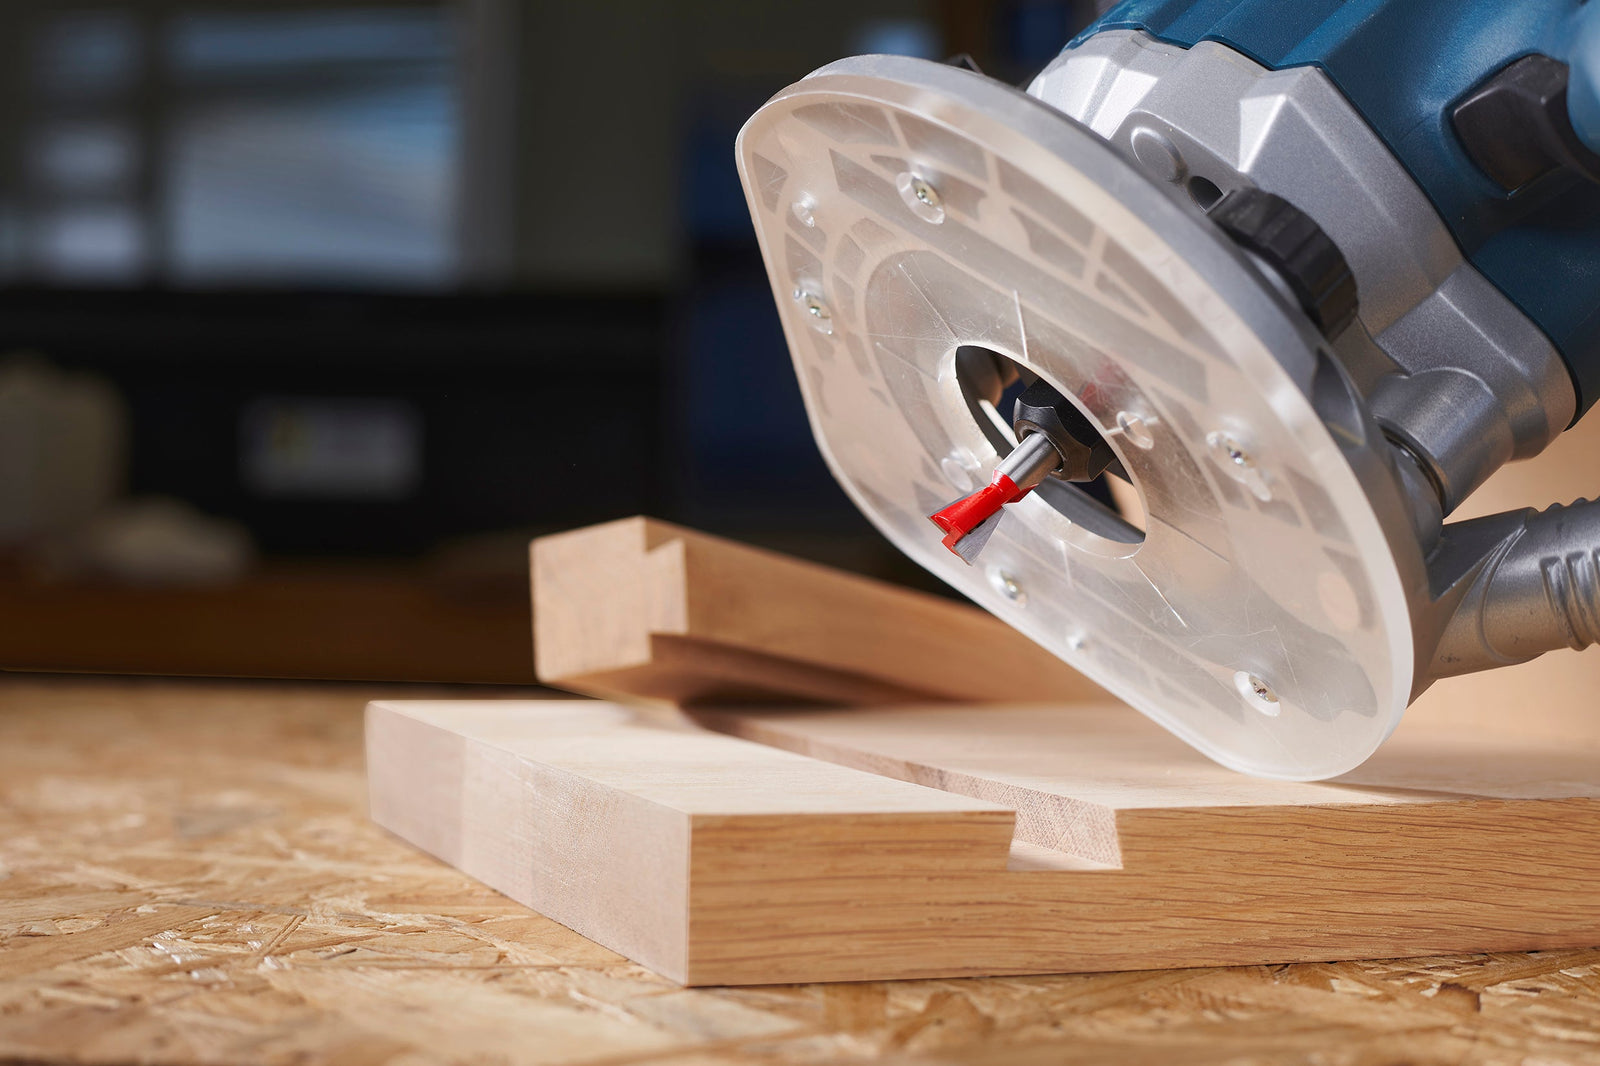
Sliding dovetails are a joinery technique that captivates many woodworkers for good reason, they're strong, self-locking, and visually striking. While traditionally seen as complex, they can be made far more manageable with the right setup and a bit of patience. In this article, we’ll walk through a practical, real-world example: building a toddler’s outdoor kitchen using sliding dovetail joints. You can follow along in the video below.
Start with Flat Timber for a Precise Fit
The number one requirement for successful sliding dovetails is flat timber. Any warping or cupping will make the joint too loose or too tight. In this project, wide timber panels were first flattened using a jointer and then passed through a thicknesser. In cases where a wide jointer isn’t available, a simple plywood sled can be used to stabilise curved boards in the thicknesser—ensuring they flatten properly without springing back.
Remember: once timber has been thicknessed, it's best to join it soon after. Leaving it in the workshop too long can allow it to move again, and you'll be back to square one.
Planning the Joint: Bit Selection and Setup
This project used a 14° dovetail bit with a 25 mm cutting tip and a 13 mm depth of cut. To reduce the load on the bit and prevent burning or tear-out, most of the material is removed first using an 18 mm straight bit. It’s important to know the narrowest part of your dovetail shape so the straight bit doesn’t accidentally cut into areas meant for the dovetail profile.
Because a dovetail bit can't be used in gradual passes (as its shape would change the geometry of the cut), it must be run at full depth in a single pass—so pre-routing the waste is essential.
Avoiding Tear-Out: Smart Prevention
Tear-out can occur when the router bit exits the timber, especially on end grain. The solution? Use spoil boards or backing boards. In this project, simple double-sided tape was used to attach offcuts to the back of the workpieces. These catch the router bit as it exits, protecting the actual surface. It's a small step that significantly improves the finished result.
Cutting with Accuracy and Control
With all the setup done, the slots were routed with a straight bit first, then the dovetail bit was swapped in—without moving the fence. Maintaining fence position is critical for consistency. Using a digital router lift made resetting the bit height easy and repeatable.
Where different offsets were needed for other components, those cuts were done as separate operations rather than readjusting the fence and risking inaccuracy.
Fitting the Male Components: Creep Up on the Fit
Once the female dovetail slots were cut, it was time to shape the male components. Here’s where fine-tuning matters. Starting with scrap timber of the same thickness, test cuts were made by routing both sides and checking the fit. Adjustments were made incrementally by trimming until the fit was snug but not forced.
This step-by-step approach prevents ruining good timber and helps dial in a tight, satisfying fit that slides smoothly without being loose.
Gluing Up Without the Stress
Glue-ups can be tricky with sliding dovetails due to the large surface area involved. Traditional PVA glue can grab too quickly, especially in tight joints. In this outdoor project, polyurethane glue was used instead. It's water-resistant, fast-curing, and works well with dry timbers like Abodo—a steam-treated, resin-free pine used here.
Pro tip: misting dry timber with water before applying polyurethane glue helps activate the adhesive for a stronger bond.
Wrapping Up: Practical Beauty in Every Slide
The end result? A toddler’s outdoor kitchen with precision sliding dovetail joints—strong, attractive, and functional. With the right preparation—flat stock, proper bit setup, spoil boards to avoid tear-out, and a methodical approach to fitting—sliding dovetails become a repeatable and rewarding joinery option.
This technique adds a professional touch to any project and opens up new design possibilities, even for hobbyist woodworkers.

