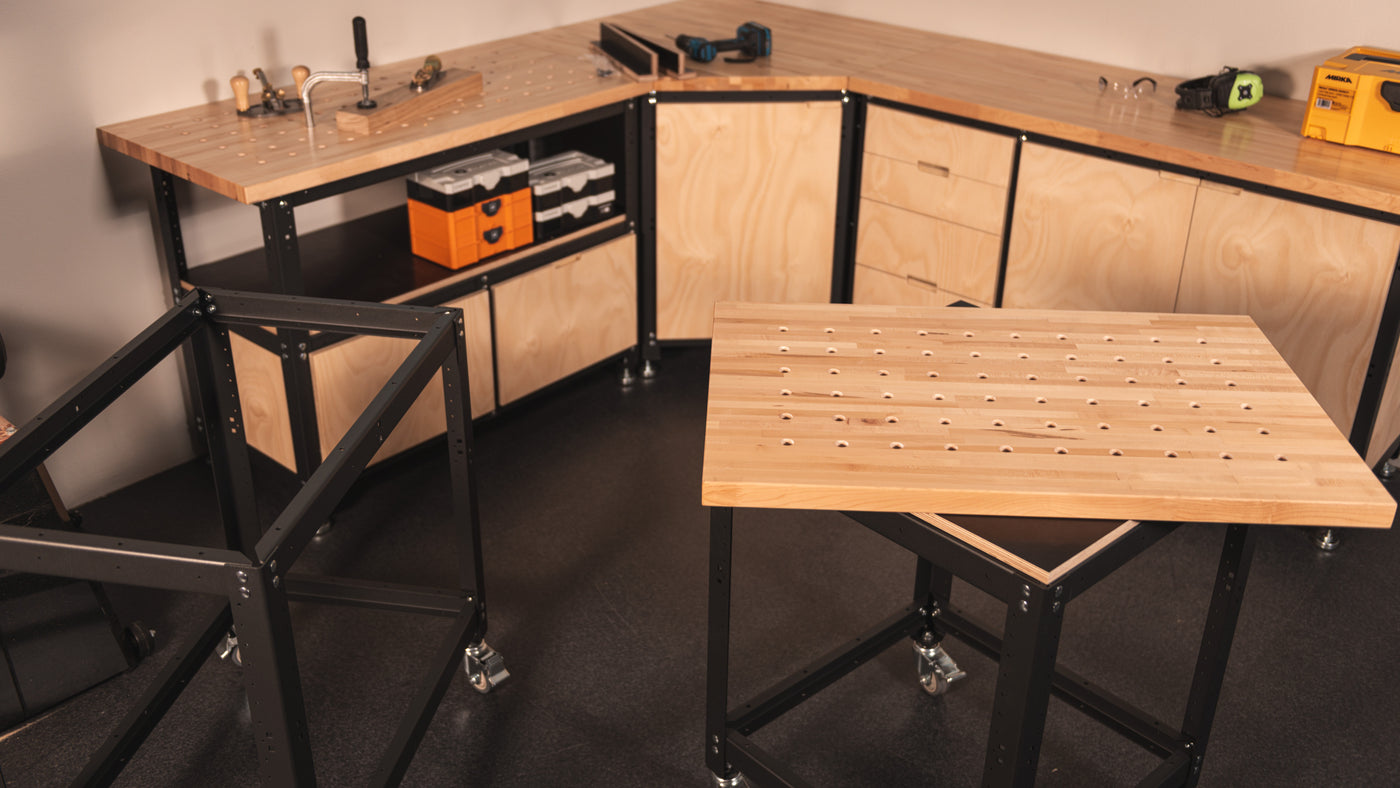

Building a Frame
- Take care while unpacking the components.
- Separate your ‘depth’ from your ‘width’ rails and group the parts together into their subassemblies. Clarify which bit goes where – a hand-drawn plan is useful at this stage!
- Bolt each end frame subassembly together using ‘depth’ rails, checking that the frame is square. Leave the bolts finger-tight. Note – they are nylon-insert lock nuts and so they will be naturally stiff to install.
- Connect the end subassemblies together with the ‘width’ rails.
- Tighten all the bolts, checking for square.
- Attach the feet or castors. The feet can be adjusted to fine-tune the height and levelness of the bench.

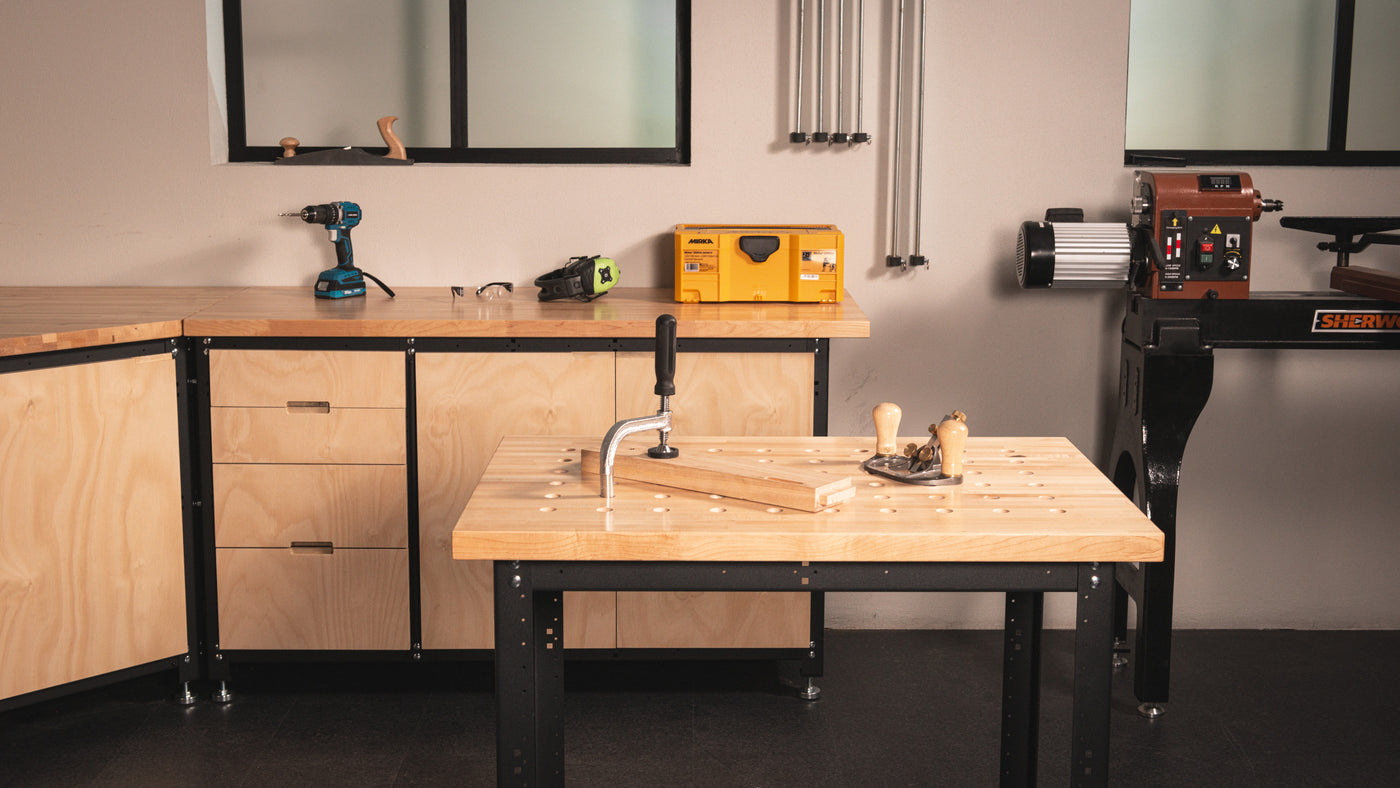
Attaching a Top
- Locate the position of the top on the frame. You can have an even overhang on all sides, or you can adjust the overhang to suit your needs. Note- if you are joining a series of benches together using the Threaded Connectors, the overhang will be too much for the provided maple tops. Either trim the end of these tops, or offset for a greater overhang at one end.
- If you are working alone, it may help to clamp the top in position to keep it still.
- Attach the top using the screws provided in the leg sets.

Installing Shelves
- For a standard shelf, you’ll need drawer/shelf rails of the same dimension as your ‘depth’ rails. You can fit these rails into any of the holes in the legs.
- For a heavy-duty shelf, use the 450 mm-high square holes and use a set of width and depth rails to support the shelf.

Installing Drawers
- Drawer runners will fit onto the drawer/shelf rails.
- Use drawer runners that are the same length as the rails for overlay drawer fronts.
- Use drawer runners 50mm less than the rail length for flush drawer fronts.
- Follow the runners’ instructions for installation.

Installing Cupboards
- Hinge Brackets will fit to the legs or to the centre supports
- When fitting the hinge to the hinge bracket, use the forward-most hole for overlay doors, or use the rear-most holes for flush doors
- Drill the door for the hinge cups, ensuring that the hole centres are a multiple of 32mm apart.